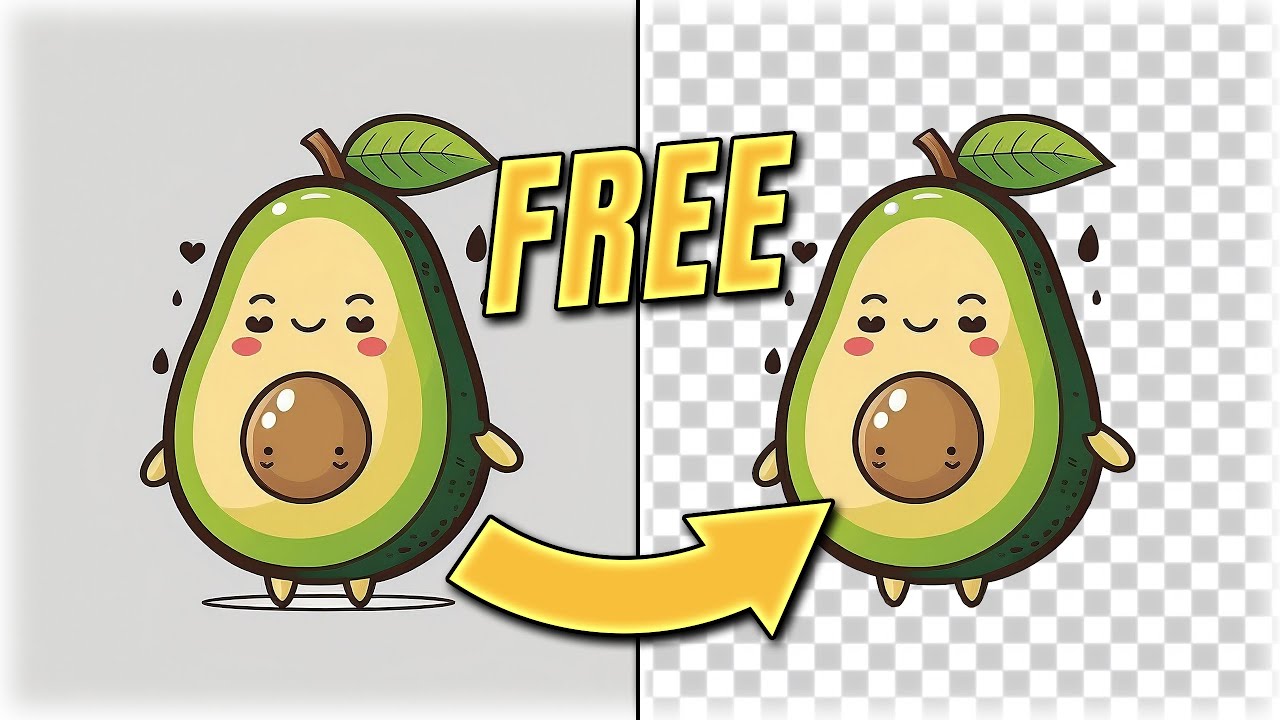
Why BackgroundRemover.com Lets Small Sellers Create Pro Photos Without a Budget
If you run a small e-commerce store, manage social media, or need clean visuals for class projects, BackgroundRemover.com can change how you work. It strips backgrounds in seconds so you can produce transparent PNGs or new background variants without buying or learning Photoshop. The real value is speed and consistency: instead of wrestling with manual masking, you get a usable base image that only needs minor tweaks for product listings, social posts, or school presentations.
Think about the practical outcomes: faster listing creation, consistent catalog visuals, and the ability to experiment with background color or context for A/B testing. For sellers with limited time and money, that translates directly to more product pages launched, more social post variations, and less time spent on repetitive editing. Over a month, even a modest time saving per image compounds into hours regained for product development or marketing.
This guide is a hands-on, numbered deep dive. Each tip includes concrete examples, advanced techniques, and a short thought experiment to help you apply the idea to your situation. Read through and pick the tips that match your workflow; you can build a streamlined pipeline that gives near-studio results with free or low-cost tools.
Tip #1: Shoot Photos So the AI Can Remove Backgrounds Cleanly
Good output starts with good input. Background removal models perform best when foreground subjects are clearly separated from the backdrop. That means you should aim to minimize complexity where possible. Use a plain backdrop - a white sheet, poster board, or a cheap sweep - and place the product a few feet from the wall to avoid harsh back shadows. Use soft, even light from two sides to reduce hard edges and hot spots. For reflective objects like jewelry, add diffusion (thin white fabric over light sources) to reduce specular highlights that confuse the AI.
Practical shooting checklist
- Choose contrast: dark product on light background or vice versa. Use tripod and consistent framing for batch shoots. Avoid extreme motion blur; if shooting handheld, boost shutter speed. Include a small color chip or gray card in the first frame to set white balance in post if needed. Shoot some frames with natural shadow if you plan to keep a drop shadow for realism.
Example: For a clothing managementworksmedia.com item, hang it on a mannequin or flat-lay it on a white poster board. For a translucent water bottle, add a thin black card behind the bottle to create visible edges. For hair or fur, shoot at a slight angle and use soft lighting to preserve edge detail. These choices reduce the amount of manual cleanup required after BackgroundRemover.com does its job.
Thought experiment: Imagine you can cut the manual cleanup per photo from five minutes to 30 seconds. If you process 300 images a month, how many hours do you get back? Use that time to list more products or refine your product descriptions, and you’ll see the practical return on better photography choices.
Tip #2: Batch Process and File Naming to Save Hours
Batching is where you reclaim most of your time. BackgroundRemover.com supports multi-image uploads so you can remove backgrounds from dozens or hundreds of files in one session. But the time saved depends on a disciplined file naming and folder structure so you can map outputs back to products or campaigns without manual searching.
File-naming system example
Use SKU or product ID as the base: SKU12345_front.jpg Add variant tags: SKU12345_red_front.jpg, SKU12345_blue_side.jpg Create output folders per campaign: /ecommerce/2026_summer/processedWhen you upload a folder, download the processed files into the corresponding folder to keep your pipeline tidy. If you’re comfortable with simple scripting, automate the rename and move steps. For example, a short bash or PowerShell script can append a suffix like _transparent.png to each output, resize files to marketplace specs, and push them to your CMS. If you manage inventory in Shopify or WooCommerce, upload the processed images in bulk through the platform import tools.

Example workflow for 100 t-shirt photos: shoot all shirts using consistent framing, name files with SKU and color, upload to BackgroundRemover.com batch endpoint or web interface, download transparent PNGs, run a quick resize and metadata add script, then import into your store. The whole pipeline can take a fraction of manual editing time.
Thought experiment: If you automate batching and cut production time by 70 percent, what can you do with the freed hours? Consider running seasonal promos, testing ad creatives, or photographing new SKUs more often. These actions can influence sales directly.
Tip #3: Replace Backgrounds Strategically for Different Platforms
Removing the background is only the start. The next decision is what to put behind your product. Marketplaces like Amazon and eBay often require white backgrounds; use the pure white option to meet those rules. Social platforms benefit from lifestyle contexts or bold colors that match your brand. Use BackgroundRemover.com to export transparent PNGs, then create multiple background variants to test performance.
Platform-specific recommendations
- Marketplaces: pure white or neutral light gray, product centered, at least 85 percent of image height filled by product. Instagram/Facebook: lifestyle or brand-color backgrounds with negative space for text overlays. Square or 4:5 vertical crops work best. Pinterest: taller images with contextual background and readable product name toward the top.
Create a small library of background templates in free tools like Canva or Photopea: white, branded color, subtle gradient, and a lifestyle mockup. Batch apply these templates to your transparent PNGs so each product gets four variants for different channels. Run A/B tests using ad campaigns or organic posts to see which background drives clicks or conversions. Track key metrics and scale the winners.
Example: A handmade mug might perform poorly on a white background in organic posts but get higher saves and clicks when placed on a rustic wood background with a complementary color overlay. Keep the product centered and leave room for text such as price or promotion.
Thought experiment: Pick three products and produce four background variants each. Run them in low-budget social ads for a week and compare click-through rate and cost per click. How would you allocate your ad spend based on those results?
Tip #4: Recreate Natural Shadows and Reflections for Realism
Transparent PNGs can look flat without shadows. Shoppers often judge product realism quickly, so adding believable shadows or reflections raises trust. BackgroundRemover.com gives you the clean subject; you add the shadow back using free editors. The goal is not a generic drop shadow but a shadow that matches your original lighting direction, softness, and intensity.
Step-by-step shadow technique
Duplicate the product layer and fill it with solid black or a dark color. Transform the shape - scale and skew - to match the ground plane orientation. Apply Gaussian blur; tweak radius until the shadow edge looks natural. Lower opacity to 15-40 percent and set blend mode to multiply. Use a soft eraser to remove shadow under areas that should float, like handles or heels.For glossy surfaces, add a faint reflection using a mirrored duplicate with low opacity and a strong blur, then mask out the top half of the reflection. For hanging products or items photographed with natural shadow, reconstruct that shadow to keep depth and scale cues. This is especially important for jewelry, appliances, and footwear where shoppers expect to see how the object sits in space.
Example: A wooden cutting board shot flat-lay will look more appealing when given a subtle drop shadow on one side, suggesting depth. For jewelry, use a crisp small shadow to anchor it without overpowering the sparkle.
Thought experiment: Create two versions of a product page - one with flat PNGs and one with realistic shadows and reflections. Run a short test on a small ad budget to see which variant yields better engagement. Small visual cues often increase add-to-cart rates.
Tip #5: Use the API and Integrations to Automate Workflows
When your catalog grows, manual uploads and downloads won’t scale. BackgroundRemover.com provides API access so you can automate from capture to publishing. Even if you’re not a developer, you can use no-code platforms like Zapier or Make to connect your cloud storage, CMS, or e-commerce platform to BackgroundRemover.com. The automation path reduces repetitive tasks and avoids human error in naming or exporting wrong formats.
Automation pipeline example
Upload raw images to a Google Drive folder named /to-process. Zapier detects new file, sends it to BackgroundRemover.com API for removal. Processed image saved to /processed with _transparent suffix. Another Zap triggers size variants and uploads them to Shopify or your CMS.Advanced builders can add steps for image optimization, metadata tagging, and product feed updates. To control cost, run lightweight validation first - detect blank or low-quality images and flag them for re-shoot. For teams, integrate notifications to Slack or email when new processed images are ready, so catalog managers can review quickly.
Thought experiment: If a small automation saves you two minutes per image for 1,000 images a year, that’s over 33 hours saved. Multiply by hourly rate or opportunity cost and you’ll see automation pays off quickly, freeing time to optimize product descriptions, respond to customers, or source new items.
Your 30-Day Action Plan: Create a Streamlined Product Shot Workflow Using BackgroundRemover.com
Week 1 - Foundation
- Day 1-2: Set up a dedicated shooting area with consistent backdrop and lighting. Create a simple checklist for shots. Day 3-4: Shoot 20 representative products following the checklist. Note which items need special care (reflective, translucent, fur). Day 5-7: Run these images through BackgroundRemover.com and save transparent PNGs. Practice adding one natural shadow and one branded background for each product.
Week 2 - Process and Template
- Create template files for marketplace listings (white), social posts (brand color), and ads (lifestyle). Automate batch resizing with a free tool or simple script. Test exporting to required file types for each platform. Run an internal review of 10 processed images and refine your shooting checklist based on real issues.
Week 3 - Scale and Automate
- Set up folder structures and file-naming conventions. Batch process the next 100 images. If you’re comfortable, configure a Zapier or Make flow to move images through BackgroundRemover.com and into your CMS or cloud folder. Train a team member or student helper on the pipeline so the system runs without you.
Week 4 - Test and Optimize
- Launch A/B tests for three products using at least two background variants and a shadow vs no-shadow version. Measure click-through rates, add-to-cart, and conversions over a seven-day window. Iterate: refine shooting settings, shadow strength, and background choices based on results.
Final steps: document the whole workflow in a short SOP so anyone on your team can follow it. Keep a backlog of product types that need special handling and revisit them monthly. As you scale, consider moving more steps into automated flows and set KPIs like time per image and conversion lift to measure progress.
With a structured plan and the right habits, BackgroundRemover.com becomes more than a tool - it becomes the central step in a repeatable, fast pipeline that yields cleaner listings and better marketing assets without a Photoshop license or expert skills.